Downloading the GlobalProtect Agent and Connecting
GLobalProtect for MAC
- In a browser window, go to https://academicvpn.ccac.edu
-
Enter your CCAC NetID and CCAC Password

- Click LOG IN
-
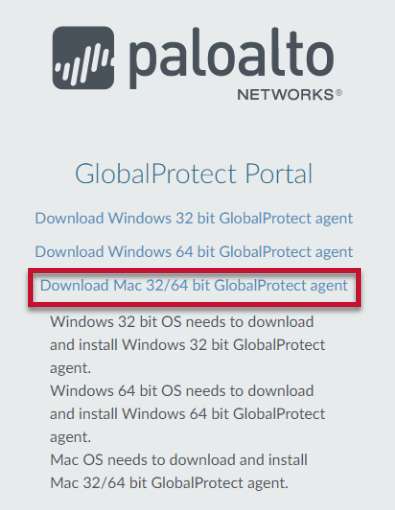
Click Download MAC 32/64 bit GlobalProtect agent
-
Depending on the browser used, your download file will appear
-
If asked, click Allow to download

-
If asked, click Allow to download
- Once the download is complete, open the installer file
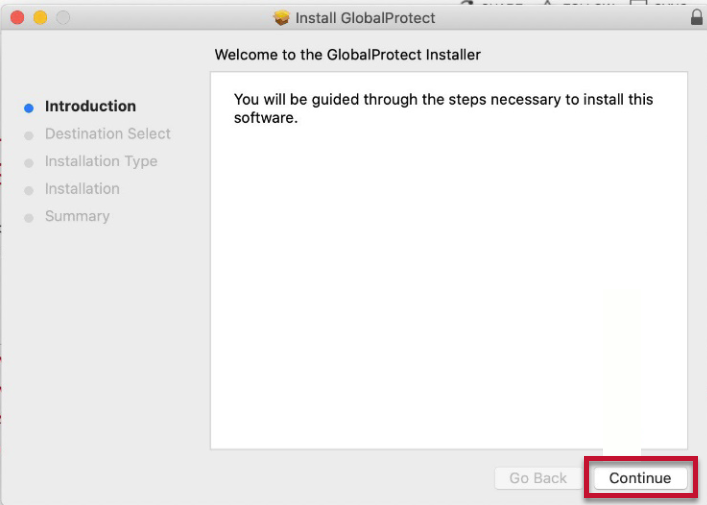
- At the GlobalProtect installation screen, click Continue
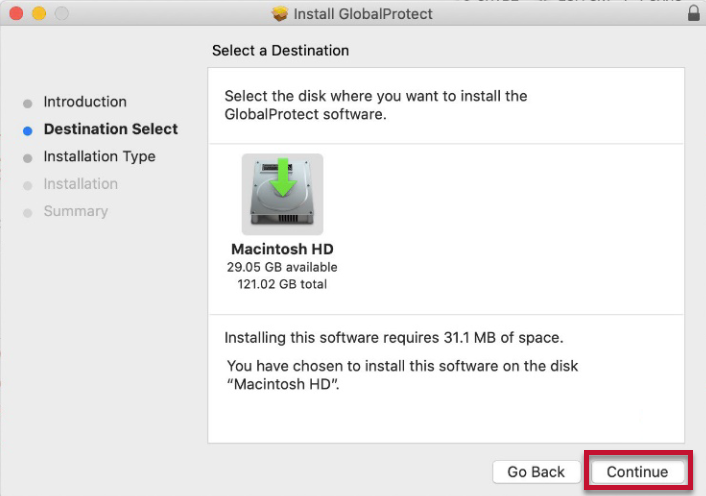
- Leave the Destination as your hard drive, and then click continue
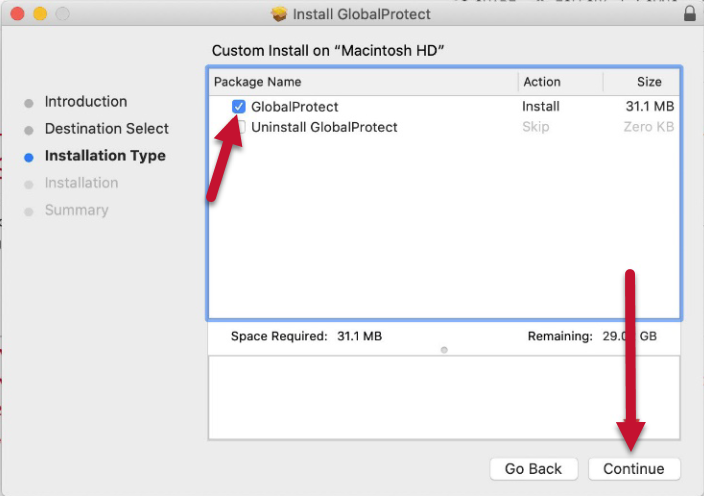
- Check the box for GlobalProtect Install, then click Continue
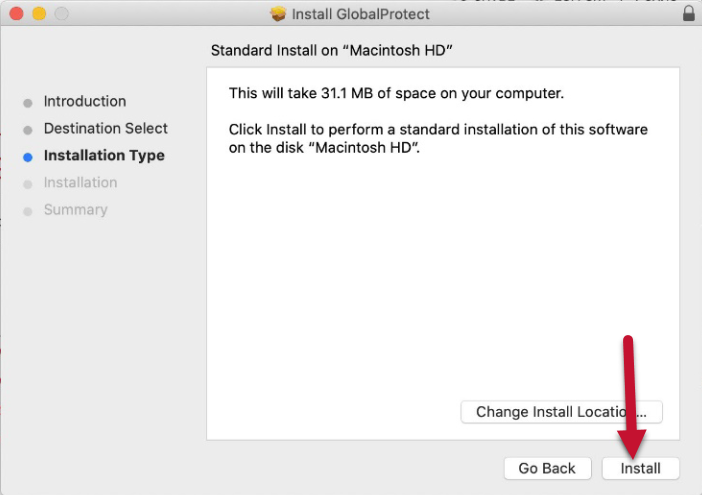
- Click Install
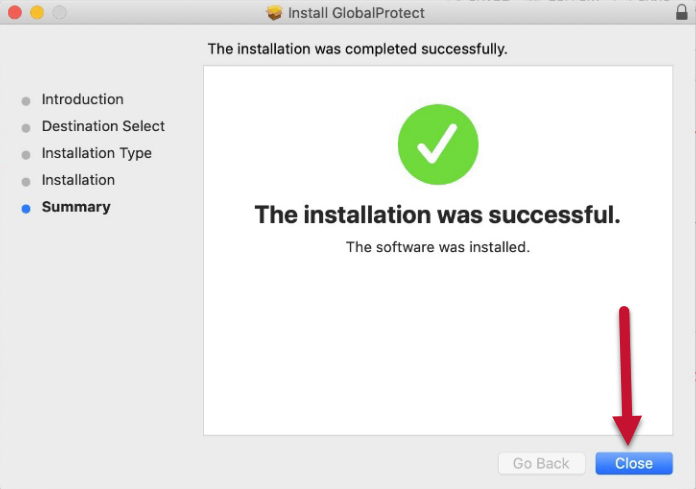
- Once the software installs, click Close
- Go into System Preferences
-
Under the Security and Privacy tab, click Allow
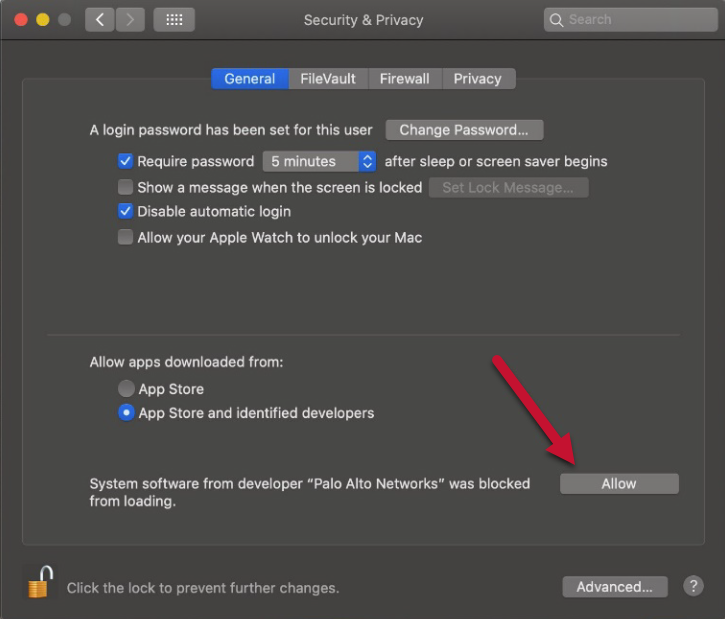
- You may not need to allow depending on your version of Mac OS or your security settings
-
Navigate to Launchpad (Icon may vary depending on your IOS)


-
Locate the GlobalProtect Application
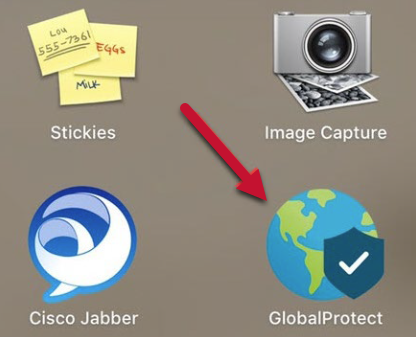
- You may be asked to enter the portal address: academicvpn.ccac.edu
-
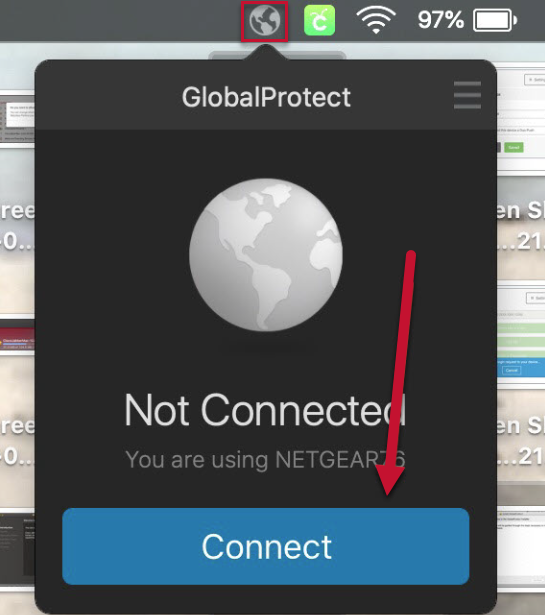
Click Connect
-
Sign on using your CCAC NetID Username and CCAC Password
- CCAC NetID Username Example: timmy.test
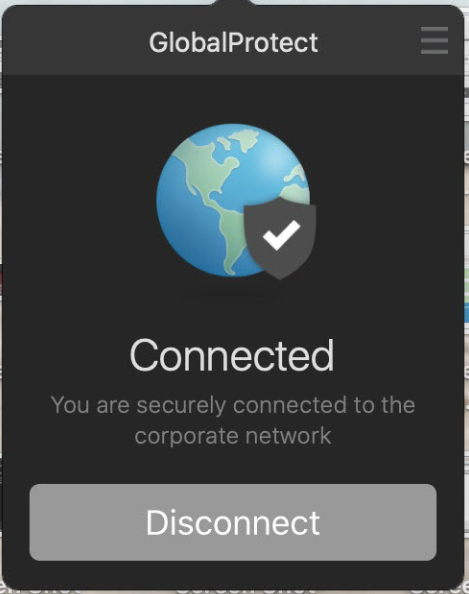
- Once logged in, you will get a popup that you are Connected
GlobalProtect for Windows PC
- In a browser window, go to https://academicvpn.ccac.edu
-
Enter your CCAC NetID and CCAC Password

- Click LOG IN
-
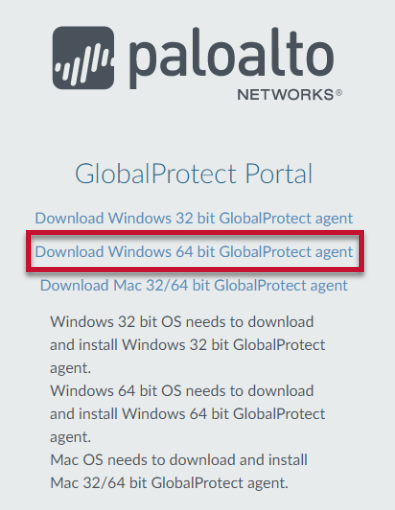
Click Download Windows 64 bit GlobalProtect agent
- Navigate through the installation wizard, clicking the Nextbutton
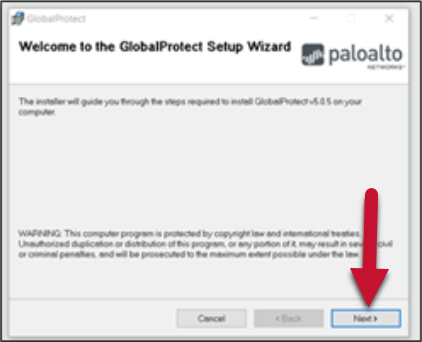
- Clock Close at the Installation Complete Screen
- Open the GlobalProtect software
-
Enter the Portal address: academicvpn.ccac.edu

- Click the OK Button
-
Sign on using your CCAC NetID Username and CCAC Password and click Connect

- You will see a shield once the VPN is connected

Accessing Academic VMs
- If not currently on a CCAC campus connect to the academicvpn.ccac.edu portal using GlobalProtect
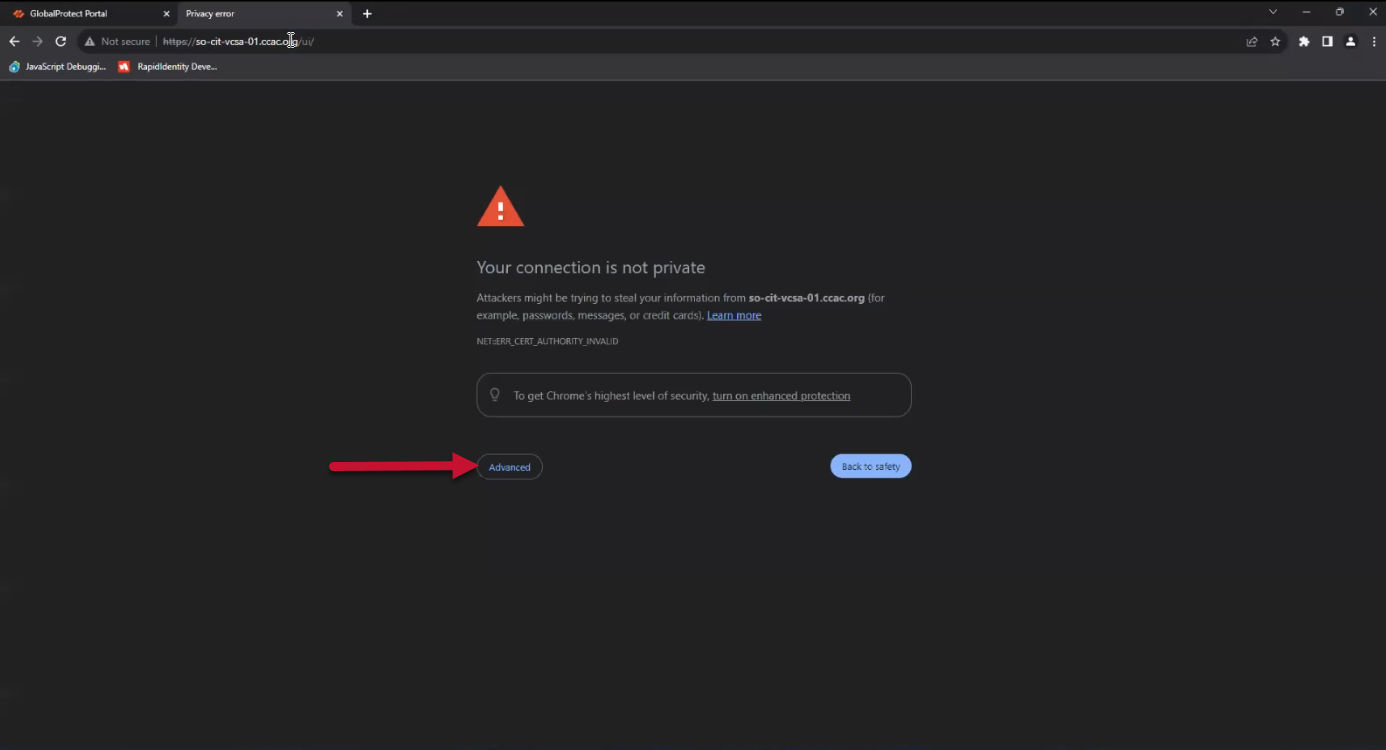
- Go to https://so-cit-vcsa-01.ccac.org/ui/
- Click Advanced
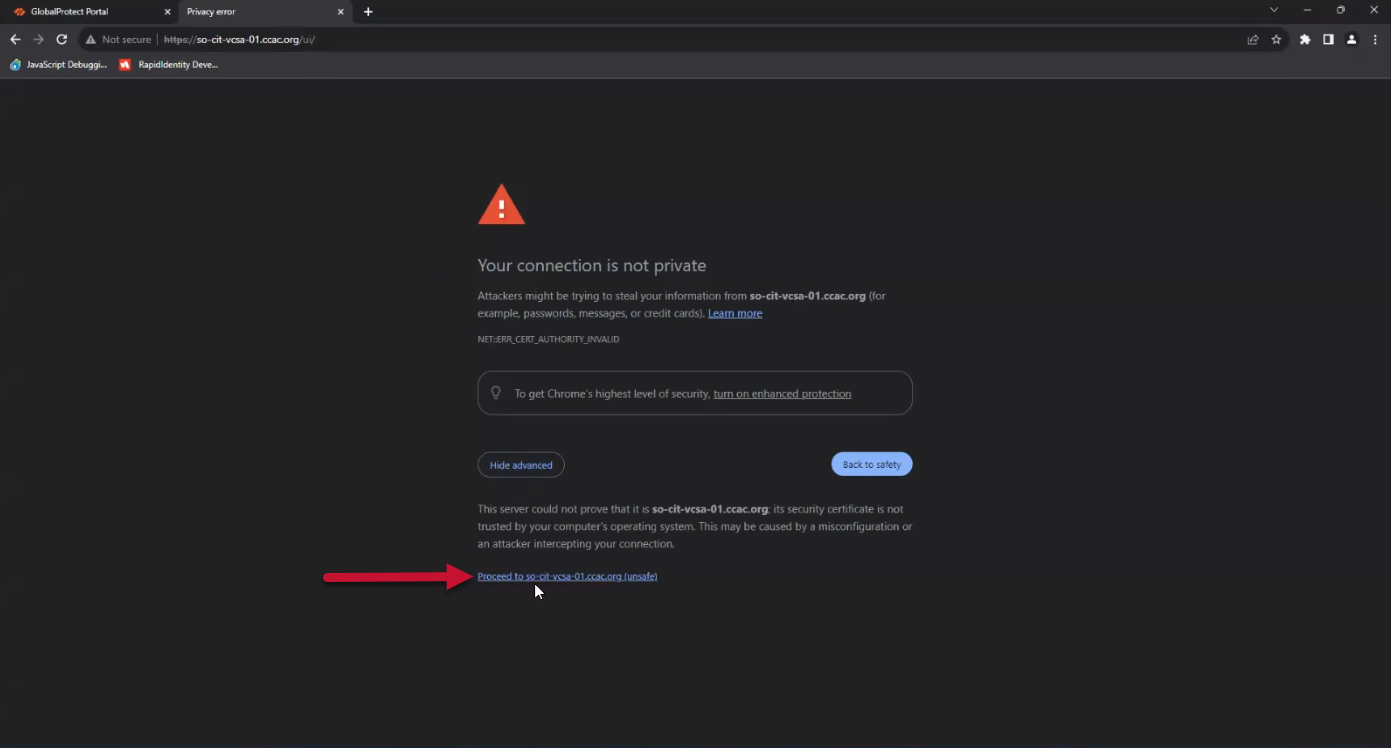
- Click the link to proceed to the site
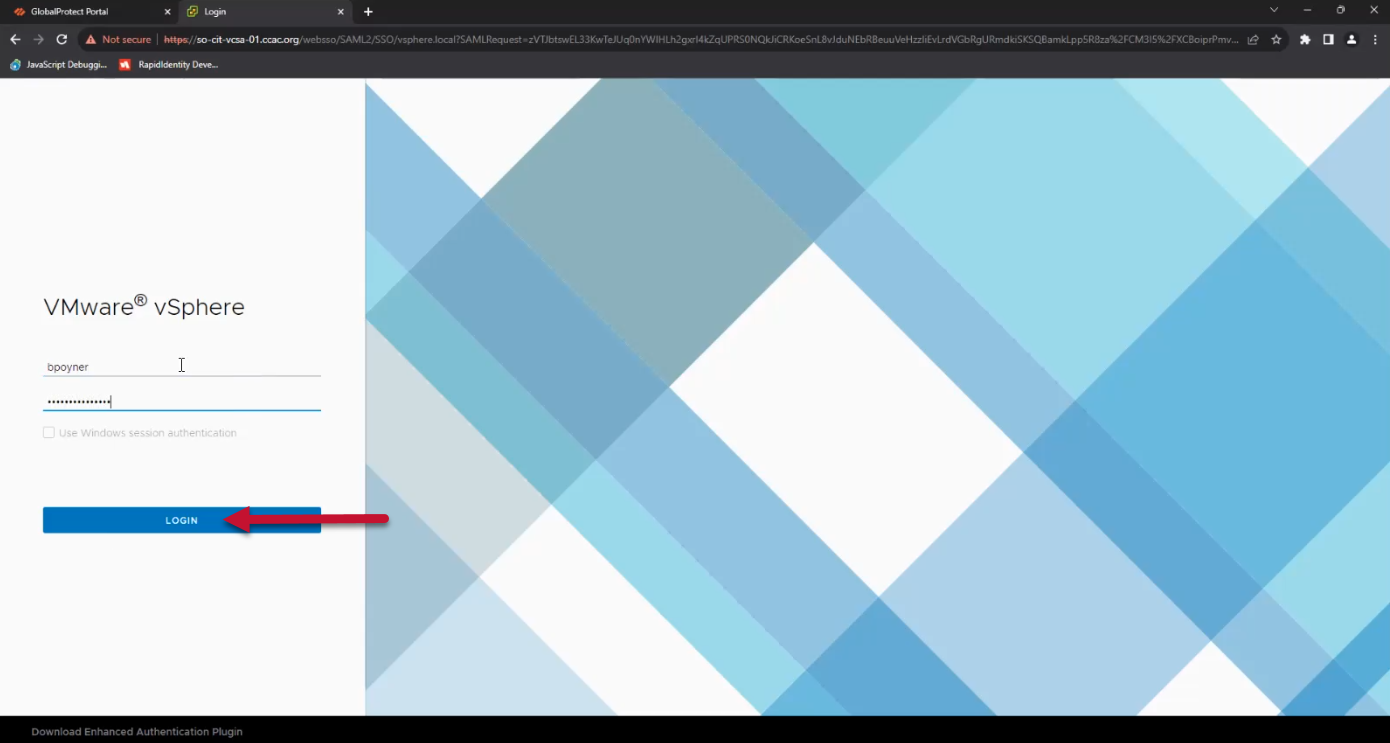
- Enter your CCAC NetID and CCAC Password
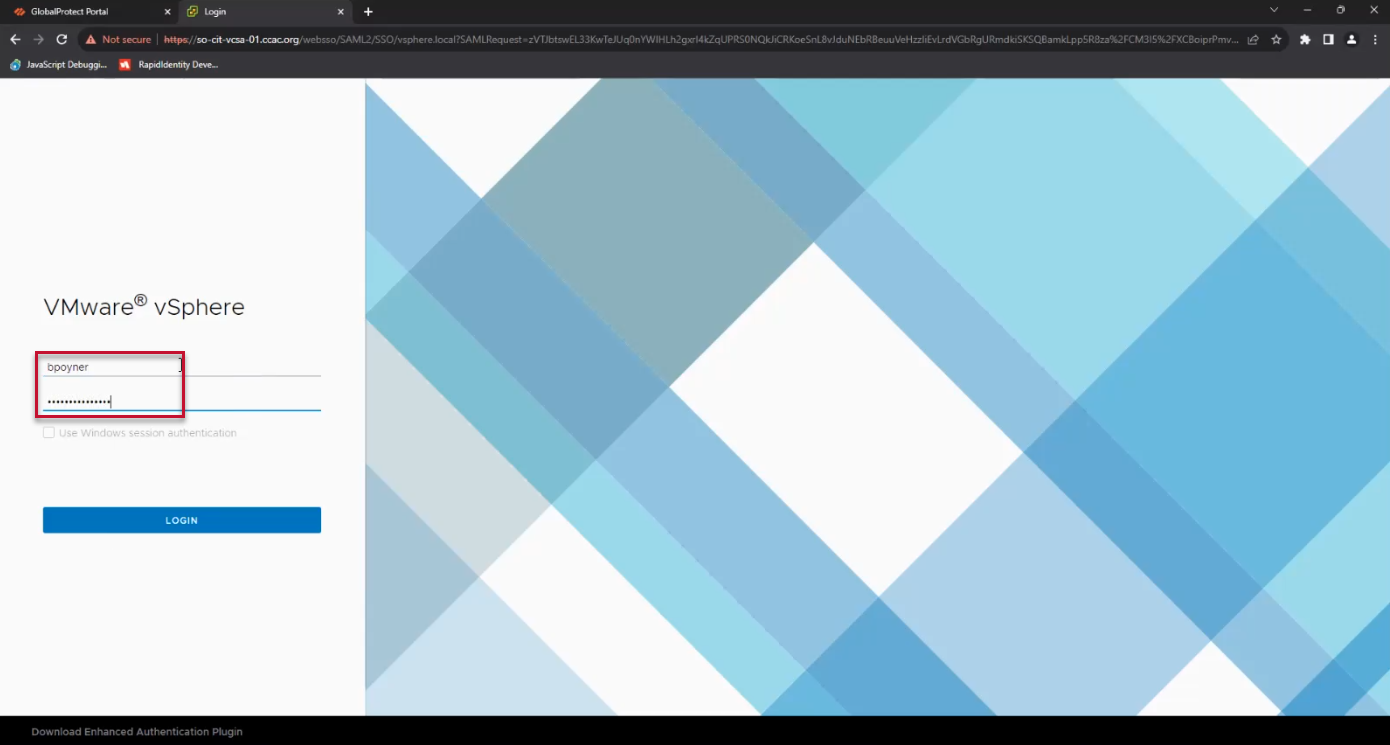
- Click LOGIN
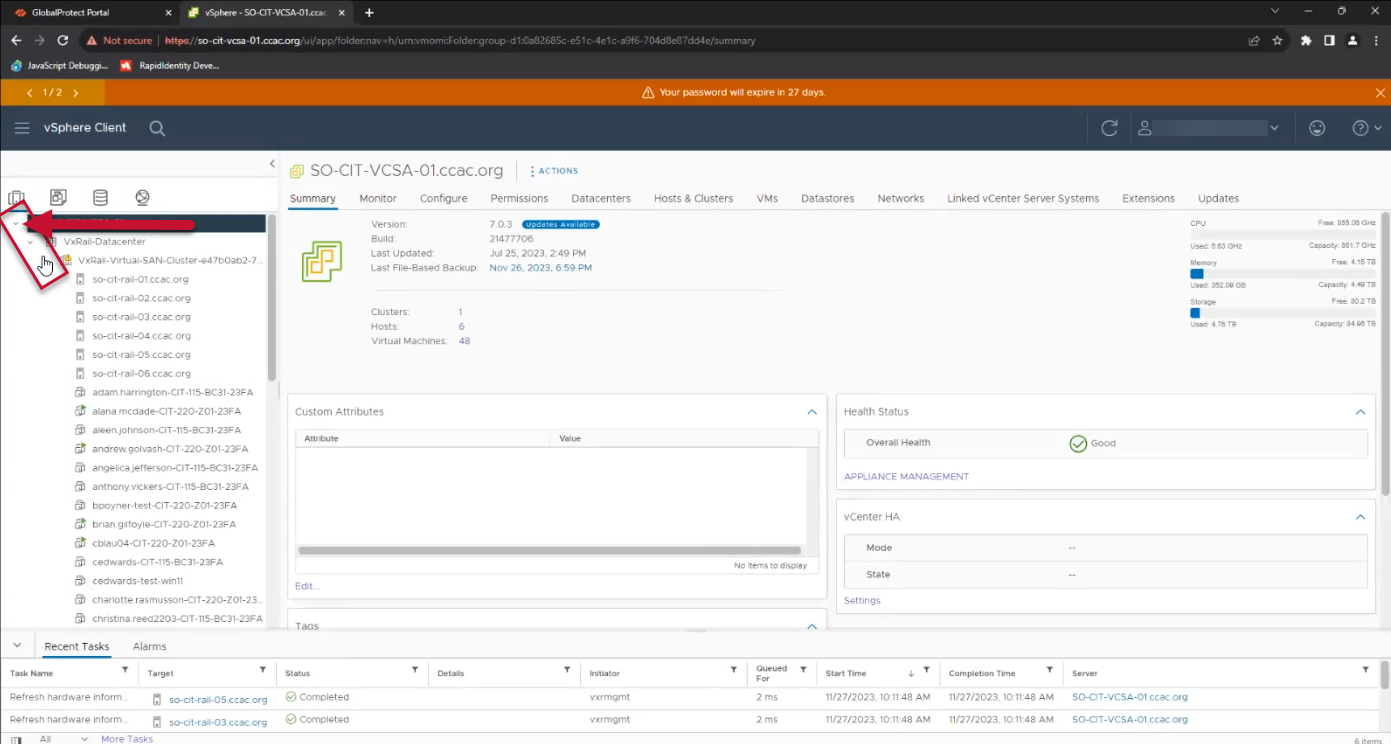
- Click the menu expansion arrows until the VMs are displayed
-
Find your VM (your VM will begin with your NetID) in the list and click it
- You will only be able to power on and manipulate your own VM
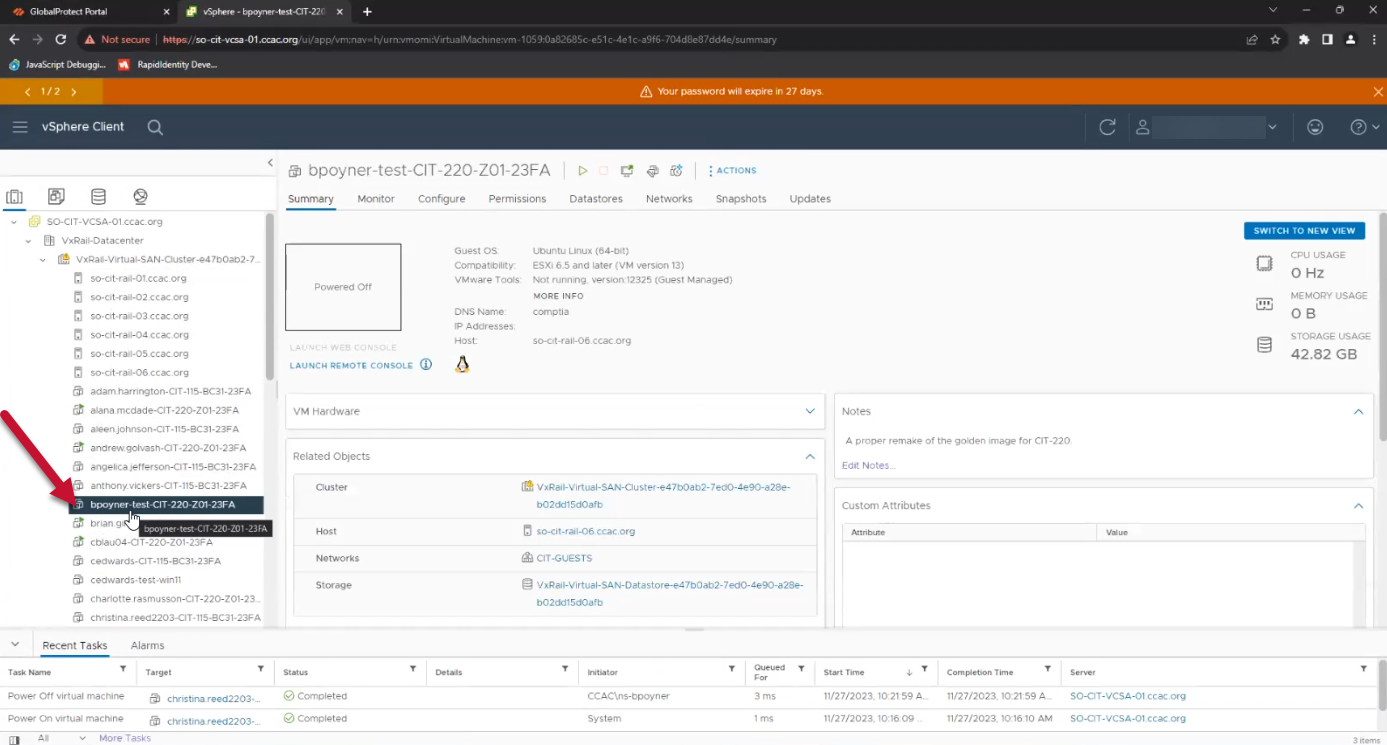
- You will only be able to power on and manipulate your own VM
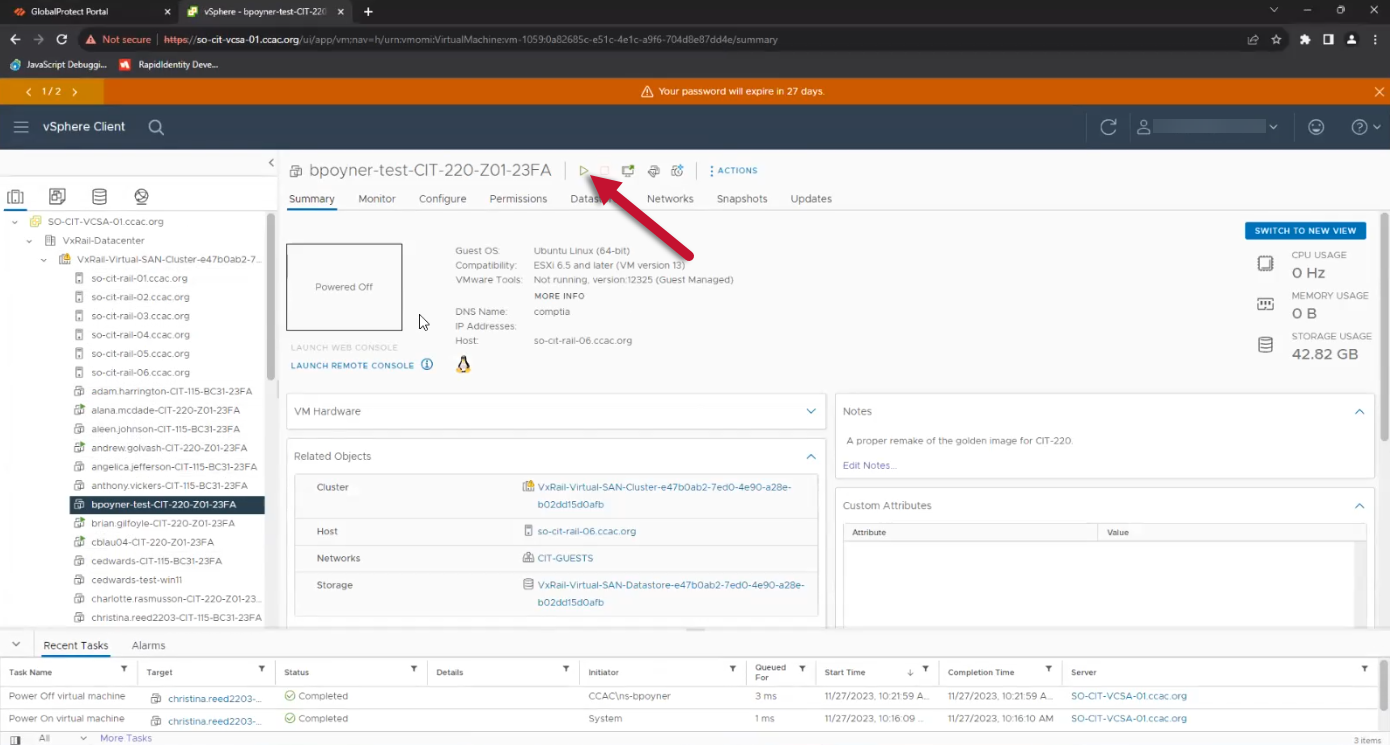
- Click Power On
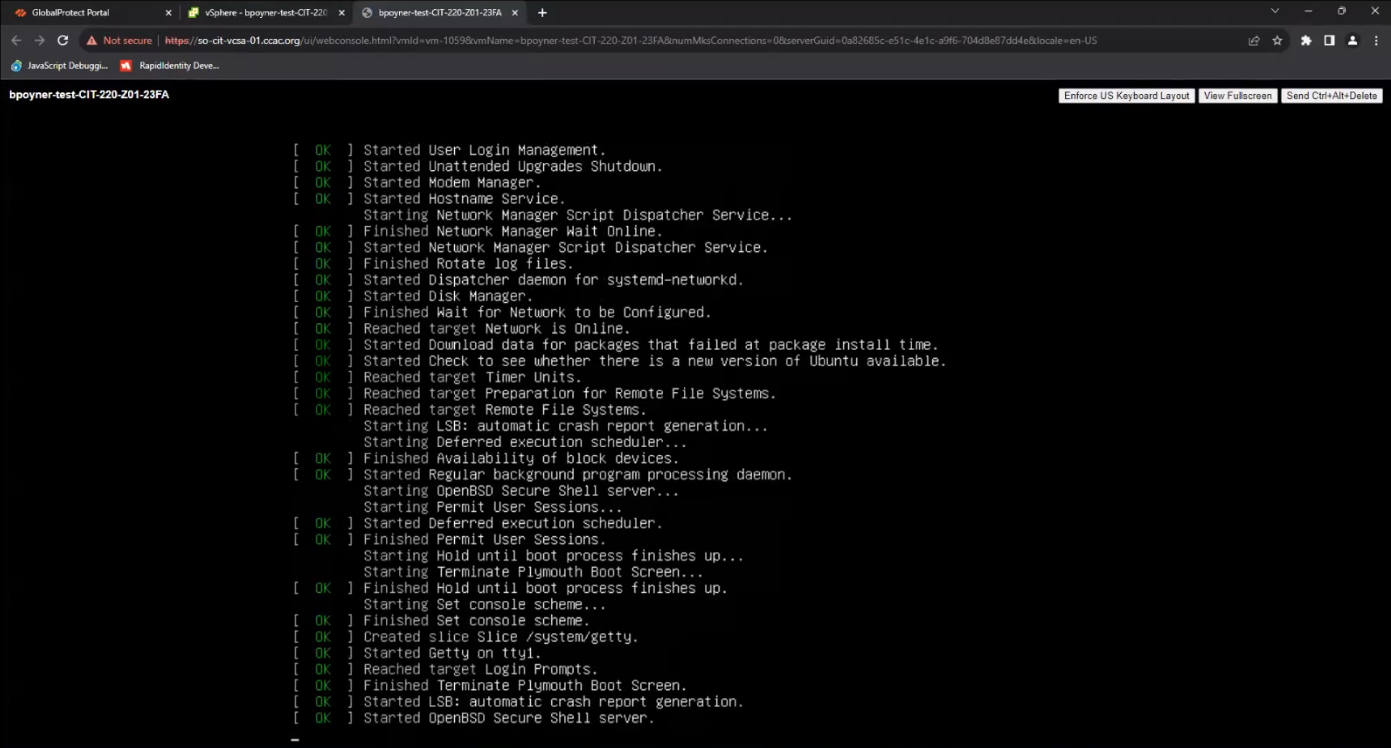
- Click LAUNCH WEB CONSOLE
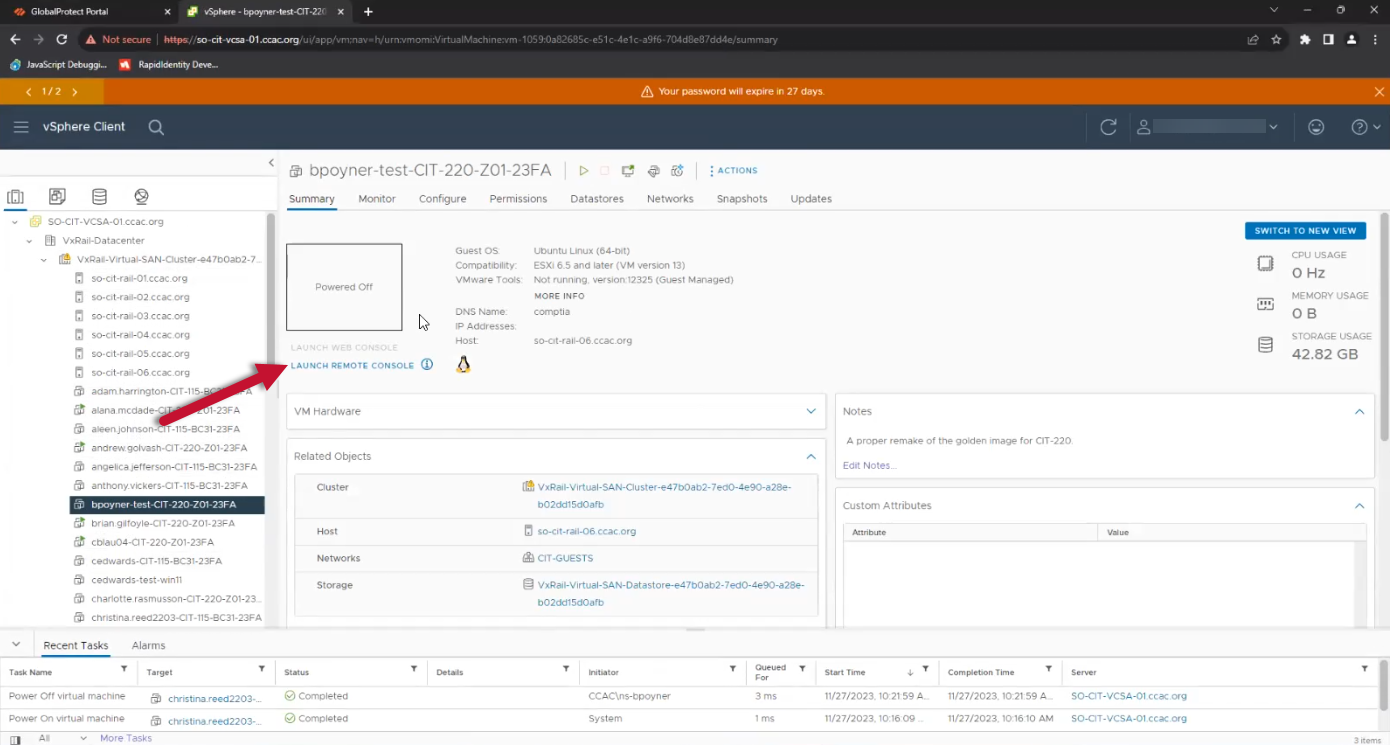
- The Web Console will launch in a new tab
