Clearing the Whole Auto-Complete Cache
1. In Outlook, click the File button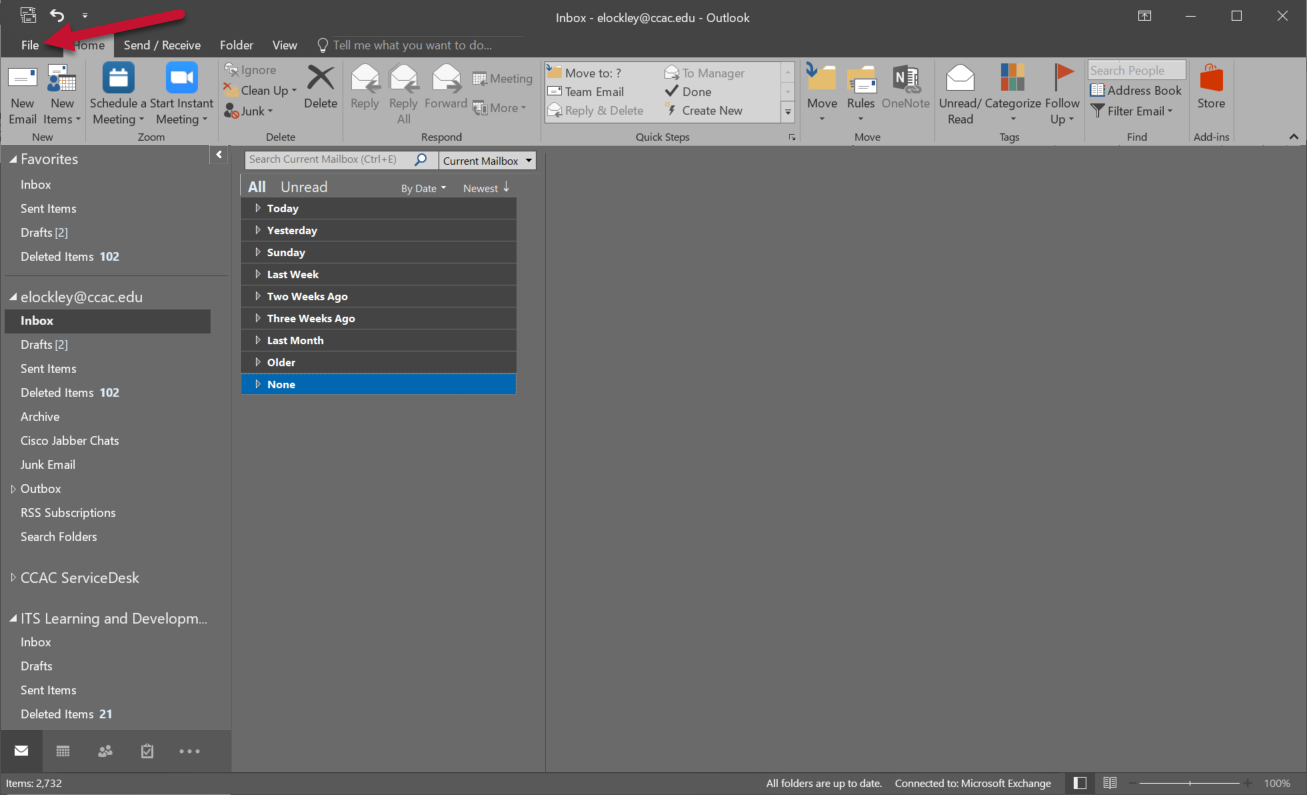
2.In the File menu, click the Options button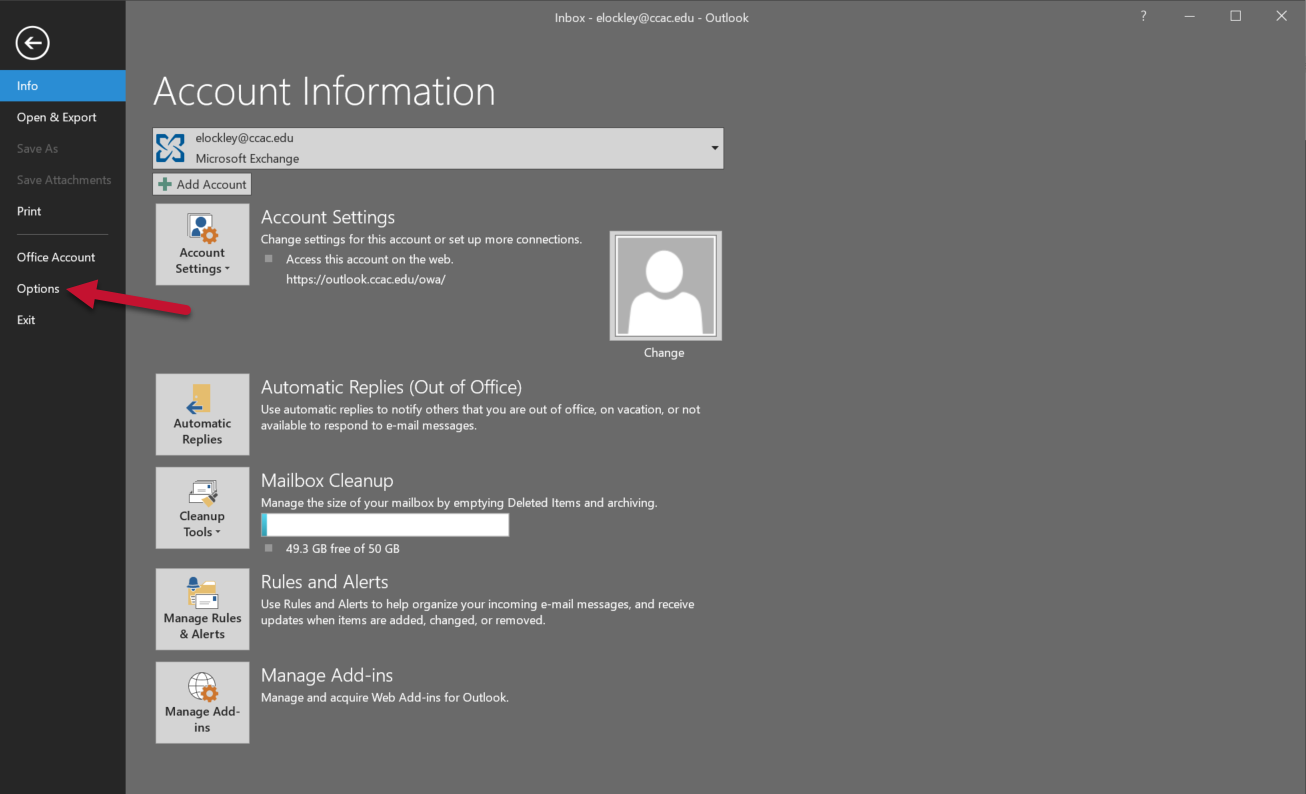
3.Click the Mail tab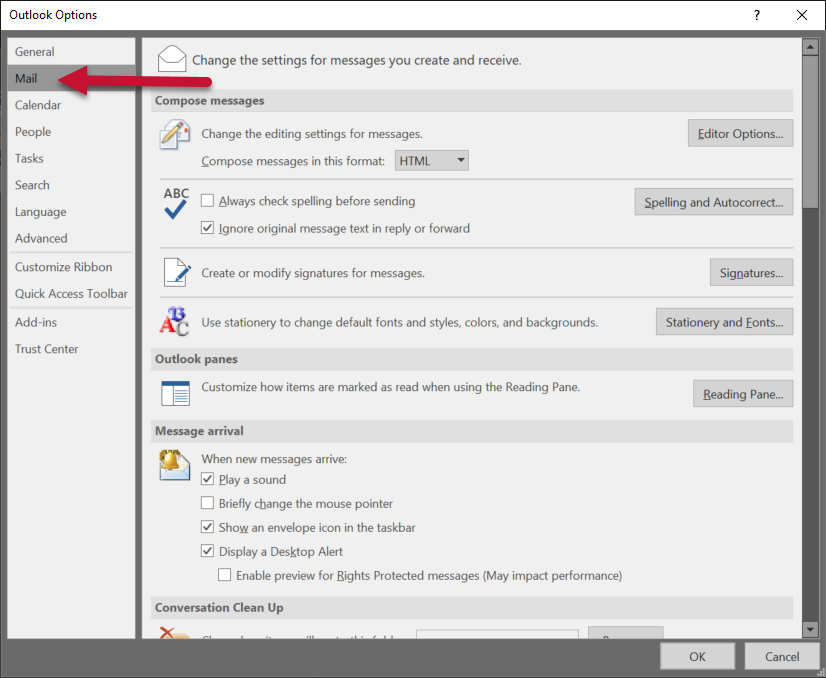
4. Scroll down to the Send messages section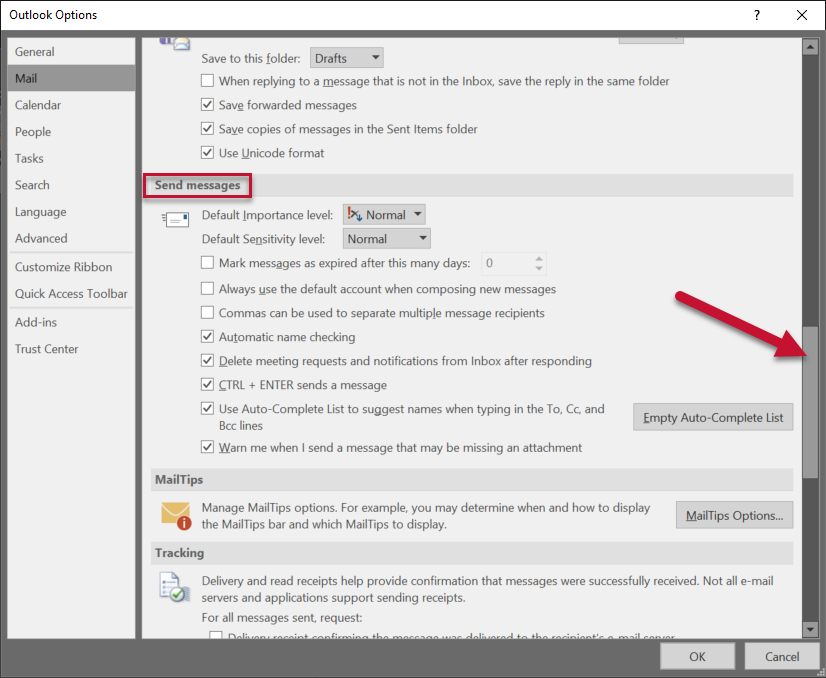
5. Click Empty Auto-Complete List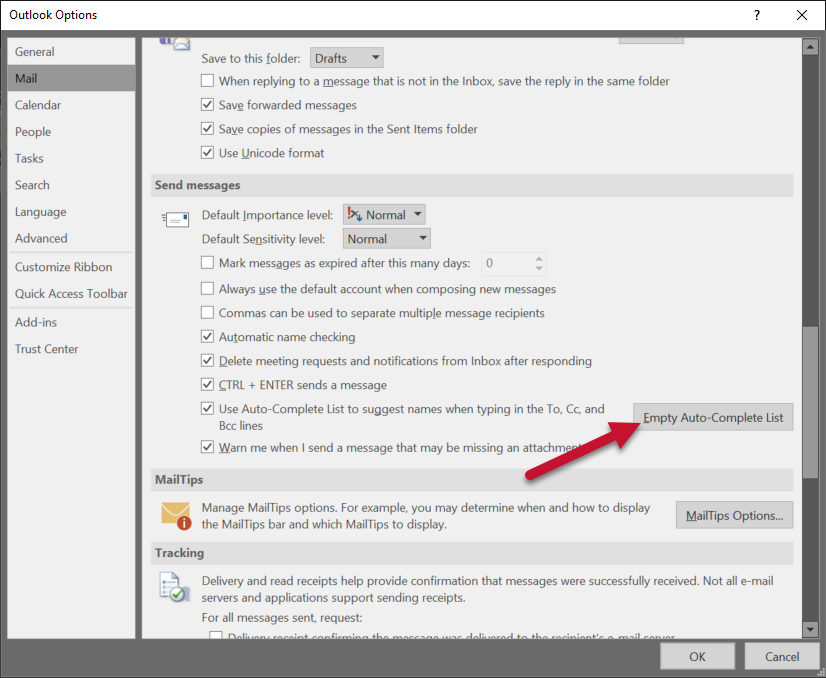
6. Click Yes, to confirm deletion of the Auto-Complete Cache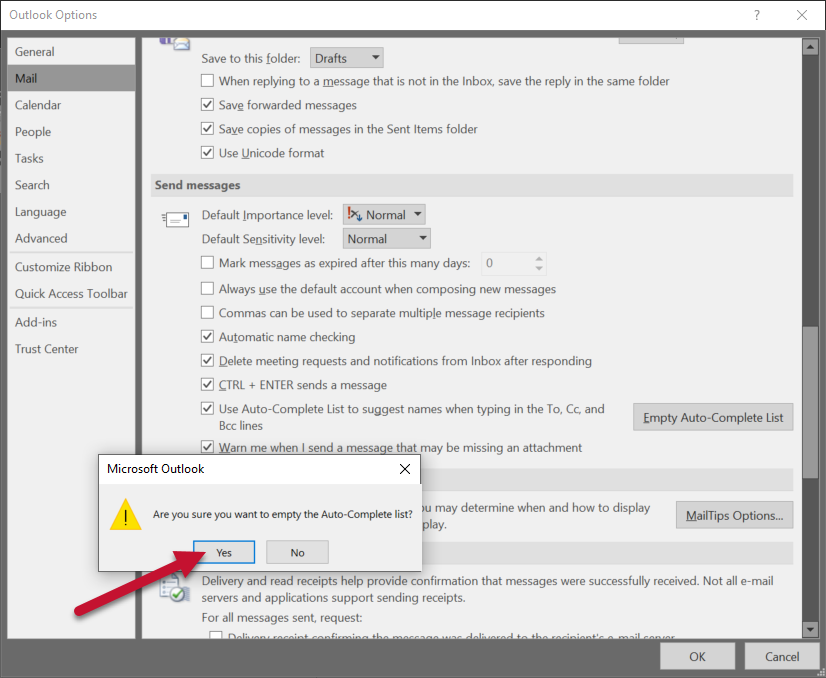
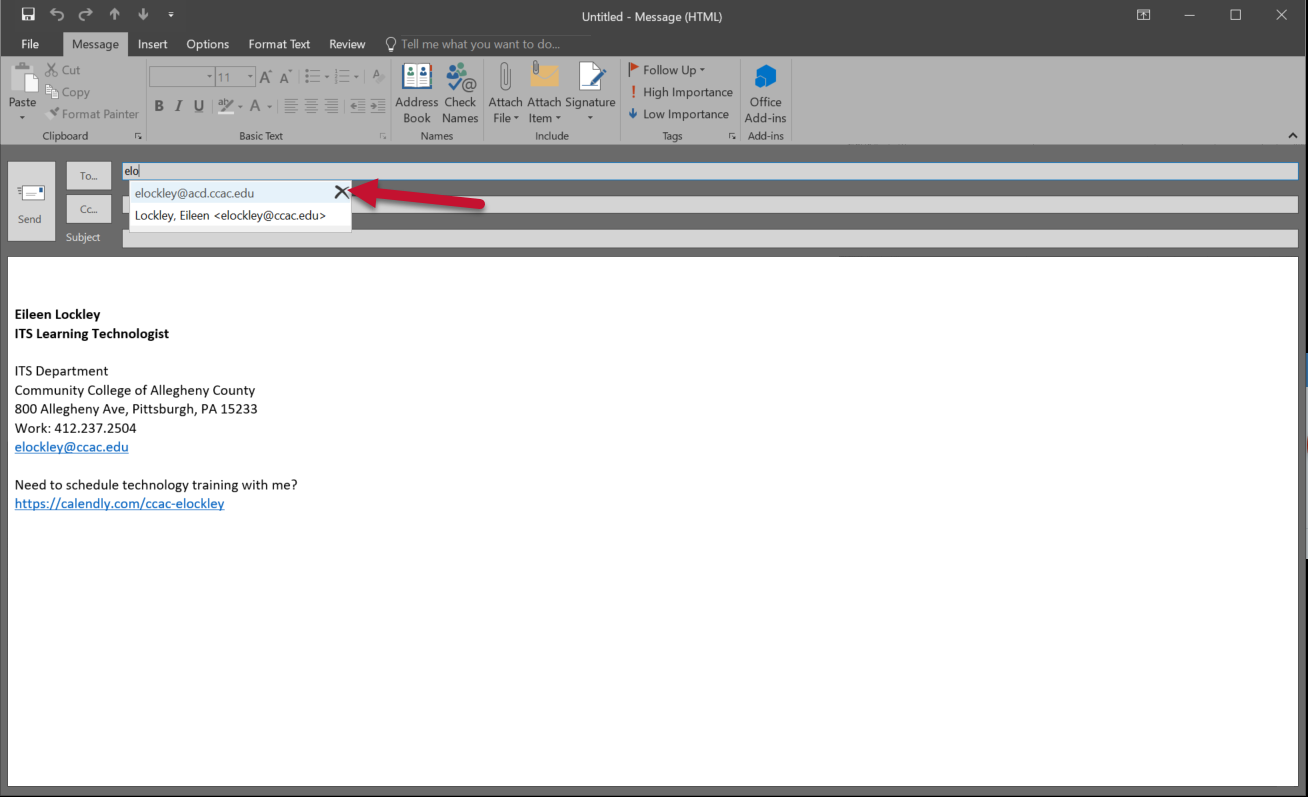
Clearing an Individual Auto-Complete Cache Entry
1. In Outlook, click the New Email button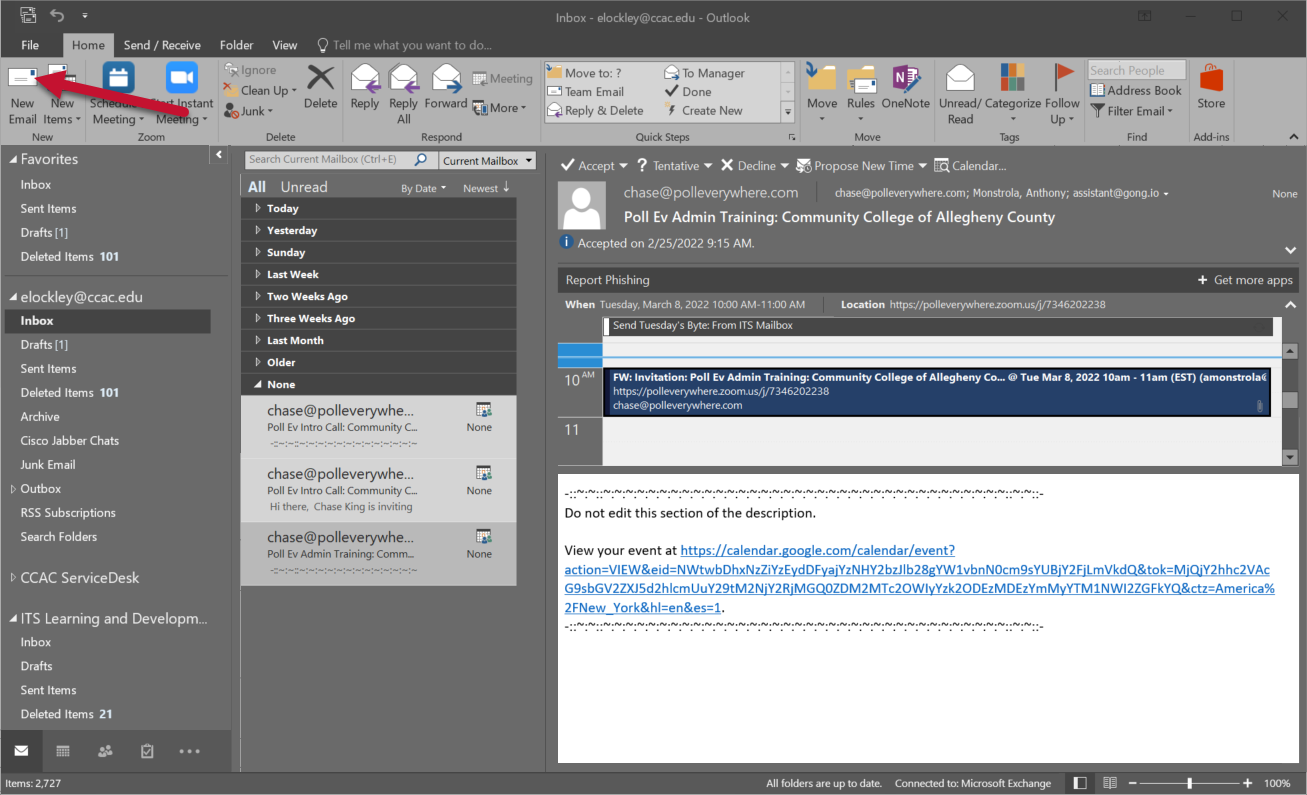
2. In the To... field, start typing the email address or the name of the contact you would like to clear from the Auto-Complete cache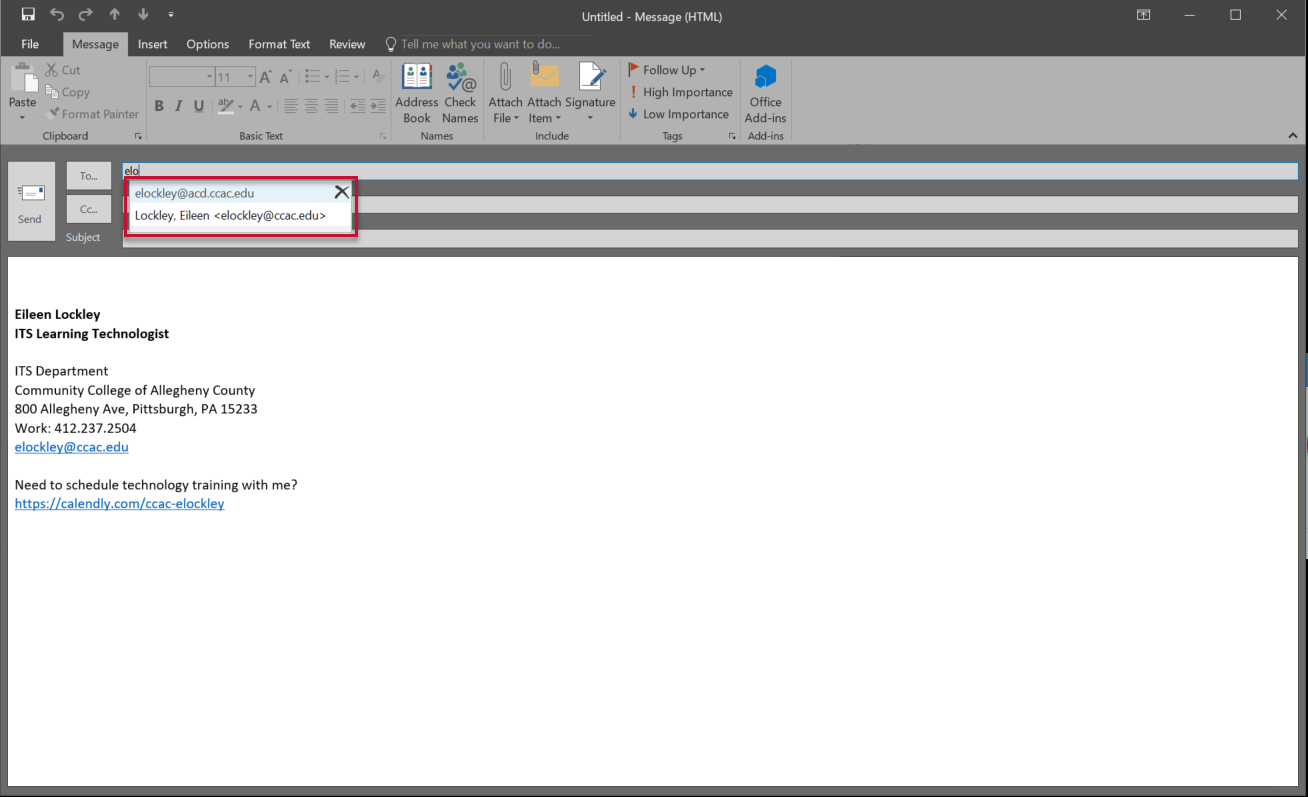
3. Click the (X) icon to delete the contact from the Auto-Complete cache permanently